Chesapeake Bay restoration: project prep checklist
If you've stood on the bank of the Wicomico or the Manokin and watched a foot of marsh quietly disappear between last summer and this one, you already know why Chesapeake Bay restoration isn't an abstract policy debate anymore.
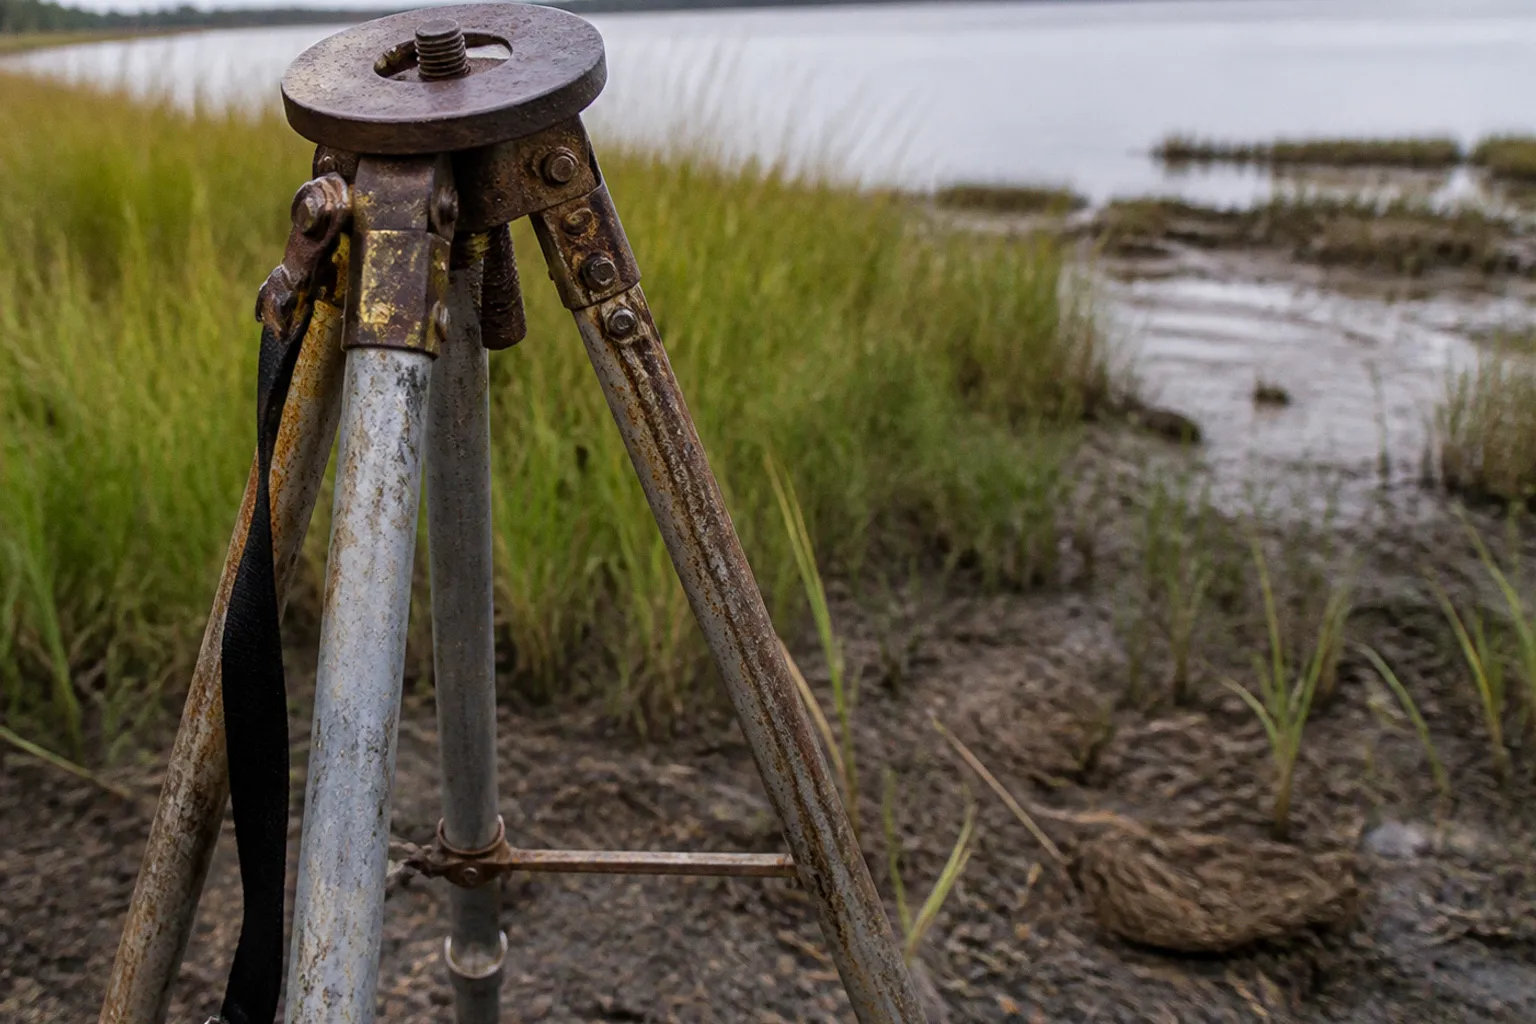
It's the ground under your feet, the road your neighbors use to get to work, the crabbing spot your family has hit every July for three generations. And when a community group, a waterfront landowner, or a small town in Somerset County decides it's time to do something about it — fund a living shoreline, restore a marsh, or stabilize an eroding bank — the project preparation is where most of the real decisions happen.
Long before a single shovel hits the mudflat, you're working inside several overlapping systems: the Maryland Critical Area framework, the Living Shoreline Protection Act, Maryland Department of the Environment authorization, Critical Area Commission review, and the funding rules attached to whichever program is helping pay for the work. The paperwork is not separate from the restoration. It determines what can be built, where it can be placed, how the shoreline is expected to function, and how the project will be measured once the plans leave the drawing board.
That's a lot to hold at once. So let's slow it down and look at what preparing a Chesapeake Bay restoration project in Somerset County actually involves — what you need to establish first, what belongs in the application, how design funding differs from construction funding, and where the schedule is most likely to tighten. By the end, you should have a working project prep checklist you can take to your next watershed meeting or your first conversation with a designer.
Navigating the Critical Area Buffer and Site Plan Requirements
The first thing every Somerset County restoration project runs into is the Critical Area Buffer, and it's worth understanding why this particular line on the map matters so much. The Chesapeake Bay Critical Area was created by the Maryland General Assembly in 1984 and expanded in 2002 to include the Atlantic Coastal Bays. It stretches 1,000 feet landward from tidal waters and tidal wetlands, which means that many restoration projects on Somerset County's tidal rivers, creeks, and bays fall within its reach. That brings a layer of state-level review alongside whatever the county or town is doing on its own.
The buffer is not simply a single fixed line that looks the same on every parcel. The standard width is 100 feet from the mean high water line, the tidal wetland edge, or the edge of a tributary stream. On sites with steep slopes or highly erodible soils, the buffer can expand up to 300 feet. There is also a Somerset County-specific consideration for Resource Conservation Area site plans filed after July 1, 2008: those plans are subject to an expanded 200-foot buffer from tidal waterways or tidal wetlands.
That means the same kind of shoreline work can face different site-plan questions depending on the parcel's designation, the terrain, the soil, and the date of the relevant filing. A project that looks small from the water may still interact with a much larger regulated area on land. Access paths, grading, planting zones, drainage features, staging areas, and any structural component can all affect how the plan is reviewed.
Before you spend money on detailed engineering, establish the regulatory geography of the site. A conversation with the Somerset County Department of Technical Services or a review of the state's Critical Area mapping tools can help identify the applicable buffer and the boundaries that need to appear in the early concept plan. The point is not to replace a formal determination. It is to avoid designing around an assumption that turns out to be wrong.
Skipping this step is how projects end up being redesigned halfway through permitting. It can mean moving an access route, reducing a grading area, changing the position of a sill, or revising the planting footprint after engineering work has already begun. Small community projects usually do not have much spare money for that kind of correction.
The buffer isn't a fixed line on the map — it's a sliding scale shaped by soil, slope, site designation, and the date your plan was filed.
A useful first pass is to put the following questions in writing:
- Is the property inside the Chesapeake Bay Critical Area, and what is the relevant tidal-water or wetland boundary?
- Which buffer width applies to this parcel?
- Is the property within a Resource Conservation Area, and does the Somerset County 200-foot provision apply to the site plan?
- Are steep slopes, highly erodible soils, or existing wetlands likely to expand the area that needs to be considered?
- Does the preliminary project footprint include only the shoreline treatment, or also access, grading, drainage, staging, and construction areas?
- Which parts of the review belong to the county, and which require state-level coordination?
You do not need a finished engineering package to ask these questions. You do need a parcel map that is accurate enough for everyone involved to be discussing the same piece of ground.
| Buffer trigger | Width | When it applies |
|---|---|---|
| Standard Critical Area Buffer | 100 feet | Default setback from the mean high water line, tidal wetland edge, or tributary stream edge |
| RCA site-plan buffer | 200 feet | Somerset County Resource Conservation Area plans filed after July 1, 2008 |
| Expanded buffer | Up to 300 feet | Sites with steep slopes or highly erodible soils |
Treat the site plan as a design document, not just a permitting attachment
A common mistake is to treat the site plan as something that gets assembled after the “real” design is complete. For a shoreline project, the site plan is part of the design logic. It shows how the proposed work relates to the water, the wetland edge, the buffer, nearby development, and the land that will be disturbed temporarily to build the project.
That matters especially for living shorelines. The shoreline treatment may be environmentally appropriate, but the project can still create review questions if the access route crosses a sensitive area or if the staging plan requires unnecessary clearing. Early site planning lets the designer keep the construction footprint as focused as possible and explain why each element is there.
Living Shoreline Mandates and the 2008 Protection Act
If your project involves stabilizing a shoreline — and much of the bank-erosion work on the Eastern Shore does — the Maryland Living Shoreline Protection Act of 2008 will shape the design from the beginning. The law establishes a preference for nature-based shoreline stabilization, including living shorelines, rather than defaulting immediately to hard armoring such as bulkheads or riprap revetments.
The practical point is simple: a bulkhead is not the automatic starting option merely because it is familiar or because an adjacent property has one. The project team needs to consider whether a living shoreline can address the site's erosion and wave conditions. That assessment belongs near the beginning of the process, not after a hard-armoring design has already consumed the available design budget.
Living shoreline elements can include marsh plantings, stone sills, coir logs, and offshore breakwaters. The right combination depends on the site's exposure, water depth, bank condition, tidal range, soils, and the amount of wave energy reaching the shore. A treatment that makes sense on a protected creek may not be appropriate on an exposed reach of Tangier Sound. Conversely, a difficult site does not automatically eliminate nature-based approaches; it means the design needs to be site-specific and supported by the right technical information.
Exceptions to the living shoreline preference require a property owner to demonstrate that a living shoreline will not work for the particular site. Extreme wave energy or an existing structural shoreline that is failing in a way that makes a soft approach unsafe may be relevant to that determination. But the burden is not met by saying that a bulkhead is more familiar, easier to explain to a contractor, or already present next door. The question is whether the proposed treatment is suitable for the conditions at this shoreline.
That is why the designer — whether a coastal engineer, landscape architect, or watershed-restoration specialist — needs to walk the site with living shoreline techniques as the starting point. The early investigation should consider:
- The direction and intensity of wave energy reaching the bank.
- The condition and slope of the existing shoreline.
- The elevation available for marsh establishment.
- The tidal and wetland boundaries that affect the planting area.
- Nearshore depth and bottom conditions.
- Existing structures, neighboring shorelines, and any constraints on access.
- Whether a sill, breakwater, or other feature is needed to help vegetation establish.
- How the proposed treatment will connect to the shoreline on either side.
The Tangier Sound project completed by Somerset County offers a useful example of the scale and character of this approach: 1,100 linear feet of living shoreline with dune restoration and offshore breakwaters, funded by a $1.17 million DNR Coastal Resiliency Program grant awarded in April 2021. The confirmed facts about the project are its length, its living shoreline design, the dune and breakwater components, and the grant support. Those facts make it a practical reference for the kind of coordinated design that a larger restoration effort may require.
They do not, by themselves, establish that the project replaced a planned bulkhead or prove a particular level of performance compared with hard armoring. That distinction matters. A nearby project can show what was designed and funded; it cannot substitute for a site-specific analysis of whether the same treatment will work on your bank.
Do not make the shoreline method a late-stage conversion
Several avoidable problems appear when a project is designed for a bulkhead first and converted to a living shoreline later. The planting elevations may no longer work. The available footprint may be too narrow. The construction access may have been planned around heavy equipment that the revised design does not need. Engineering assumptions about wave energy and bank stability may have to be revisited.
An existing bulkhead on an adjacent property is also not a complete precedent. It may reflect a different shoreline orientation, a different bank profile, an older regulatory decision, or conditions that do not exist on your parcel. The state review will focus on the project in front of it.
The better sequence is to describe the shoreline problem first, collect the site information, and then compare the available stabilization methods. If a structural feature is necessary, the plans should explain its function rather than presenting it as the default answer.
Securing Funding Through the Roots for Resilience Initiative
Money is where many restoration projects stall, so the funding structure needs to be understood before the concept becomes too expensive to change. In May 2026, the federal EPA, the state of Maryland, and a coalition of nonprofit partners launched Roots for Resilience, backed by $42.5 million in federal funding. The initiative's stated goal is to restore 400 acres of high-quality tidal marsh habitat by 2029, and four living shoreline projects in Somerset County are part of that pipeline.
In June 2026, the first wave of design-phase funding was announced: $4.5 million across seven Eastern Shore projects. Those grants cover engineering, permitting, and surveying. They do not cover construction. That distinction is not a technical footnote. It determines what the award can actually deliver.
A design-phase grant can move a project from an idea to a set of plans that is ready for construction funding. It can support the field work, technical drawings, permit materials, and other preparation needed to define the project. It does not necessarily mean that a contractor can be hired or that materials can be ordered. Community groups should keep those two stages separate in their internal budgets and public communications.
The practical workflow looks roughly like this:
1. Confirm the Critical Area Buffer status and the site's tidal designation before committing to a detailed design.
2. Prepare a preliminary concept with a coastal designer. At this stage, a one-to-two-page sketch, an initial plant palette, and a basic structural footprint may be enough to communicate the idea.
3. Apply to Roots for Resilience, or to a comparable program such as DNR's Coastal Resiliency Program, for design-phase funding.
4. Use the design award for the work it is intended to support: surveying, engineering, permitting, and bid-ready documents.
5. Apply separately for construction funding through a later round of Roots for Resilience support, a state grant, or a federal program such as the NFWF Chesapeake Bay Stewardship Fund.
6. Keep a written record of the project scope, match requirements, eligible costs, and deadlines for each funding source.
That last item is where otherwise strong applications can become difficult to manage. One grant may support surveying while another supports construction. One may require a specific match or reporting schedule. Another may be limited to a particular type of shoreline or habitat outcome. The project manager has to know not only how much money is available, but what each dollar is allowed to pay for.
The funding pipeline also affects the order of design decisions. If construction funding is not yet secured, it may be unwise to lock the community into a high-cost concept before the site conditions and permitting requirements are fully understood. At the same time, a vague concept is difficult to fund. The early plan needs enough detail to show the problem, the proposed treatment, the expected footprint, and the work required to reach construction readiness.
Design-phase funding gets you to shovel-ready plans. Construction is a separate ask, on a separate timeline, with a separate application.
The Roots for Resilience initiative may be an important opportunity for Somerset County projects, but applicants should verify the current program guidance rather than assume that every form of support is included in a design award. Technical assistance, outreach, or implementation support may be available through the initiative or its partners, but the confirmed funding description here is narrower: the initial design-phase grants cover engineering, permitting, and surveying. Budget and schedule around what the award actually says.
Managing MDE Permitting Timelines and Authorization Fees
Once the design is ready, you're headed into the Maryland Department of the Environment for wetlands and waterways authorization, and you may also need Critical Area Commission site-plan review. Both have timelines and fees that belong in the project calendar from the start, not at the back end when the design budget is already spent.
MDE authorization fees for wetlands and waterways work range from $290 to $1,950, depending on the scope and impact tier, under the fee schedule effective June 1, 2025. The fee itself may be manageable. The more difficult planning question is how long the review will take. Processing can range from 30 to 365 days depending on the project's complexity, the completeness of the submittal, and the review queue when the application is filed.
A simple marsh planting with minimal grading may fall toward the shorter end of that range. A living shoreline with structural elements, multiple tidal crossings, or habitat mitigation components may require substantially more review. Those are planning examples, not guarantees. The only safe assumption is that the schedule depends on the actual scope and the quality of the application package.
A complete submittal is therefore more than a form and a check. It may need to show the site boundaries, buffer conditions, proposed grading, access and staging, shoreline structures, planting areas, wetland impacts, and the relationship between the project and nearby features. The drawings and narrative should tell the same story. If the plan shows one footprint and the permit description suggests another, reviewers have to stop and ask which version is correct.
Before filing, it is useful to assemble a permitting package that includes:
- A current site map with the relevant tidal, wetland, and Critical Area boundaries.
- The proposed project footprint and any temporary disturbance areas.
- Cross-sections or other drawings that explain grades, structures, and planting elevations.
- A description of the shoreline problem and the reason for the selected treatment.
- Surveying and engineering information appropriate to the project's complexity.
- The pollutant-reduction calculations required for the applicable Critical Area designation.
- The coastal resilience assessment required under the current COMAR provision.
- A schedule that identifies design completion, agency submittal, review, revisions, funding, and construction.
For the Critical Area Commission side, the key confirmed scheduling requirement is the six-week submission deadline before a scheduled Project Subcommittee meeting. A complete package needs to reach staff six weeks before the meeting for which you want the project considered. That deadline determines whether the project can be placed on the agenda for that meeting. It should be treated as a hard planning date, not as a suggested courtesy.
The prudent approach is to work backward from the published meeting schedule. Give the designer time to finish the drawings, give the project manager time to check that the application is complete, and leave room for internal review before the six-week cutoff. The rule does not establish a guaranteed review result or a fixed number of months between meetings. It does establish a deadline that can affect the next available opportunity for consideration if it is missed.
Keep the funding calendar and the permitting calendar together
A project can be technically ready for review and still not be financially ready to build. It can also have a grant opportunity that closes before the permit package is complete. That is why the project calendar should place the following dates on one page:
| Project stage | What needs to be ready | Why the date matters |
|---|---|---|
| Site screening | Parcel map, buffer information, preliminary shoreline conditions | Prevents the concept from being built around the wrong regulatory assumptions |
| Concept design | Proposed treatment, initial footprint, basic planting and structural approach | Gives funders and partners something concrete to evaluate |
| Design-phase funding | Application, scope, eligible costs, and schedule | Determines what surveying, engineering, and permitting work can be paid for |
| Permit preparation | Complete drawings, calculations, assessments, and supporting narrative | Reduces avoidable questions and revisions |
| Critical Area Commission submittal | Complete package at least six weeks before the target Project Subcommittee meeting | Determines whether the project can be considered on that meeting cycle |
| Construction funding | Bid-ready plans, cost estimate, approvals, and funding application | Separates preparation money from construction money |
The exact sequence will vary, but the principle does not: do not let a grant deadline or a meeting date appear for the first time in the week the plans are supposed to be finished.
Compliance Standards for Pollutant Reduction and Coastal Resilience
Two requirements sit on top of the site and permitting work, and they are often the parts that expose weaknesses in an otherwise attractive concept.
The first is the 10% pollutant reduction rule for Critical Area Intensely Developed Option, or IDO, zones. The project must demonstrate at least a 10% reduction in phosphorus loading compared with pre-project conditions. The compliance calculation belongs in the submittal package and needs to match the stormwater-management approach shown in the plans.
That can involve vegetated buffers, rain gardens, bioretention areas, or other measures associated with the project footprint. The important point is not to add a token planting strip at the end and call the calculation finished. The pollutant-reduction strategy should be connected to the grading, drainage, and land-cover decisions made during design.
The calculation also needs a clear baseline. Reviewers should be able to see what the pre-project condition is, what the proposed condition will be, and how the measures in the plan produce the stated reduction. If the landscape plan changes after the calculation is prepared, the numbers may need to be revisited. A planting area moved for access reasons can affect the stormwater logic. A change in grading can affect runoff. A revised shoreline footprint can change the area being counted.
The second requirement is the coastal resilience assessment under COMAR 27.02.05.02 (A). The current requirement calls for the assessment as part of the relevant state development application in the Critical Area. The material should address the project's exposure to coastal hazards and its expected behavior over the design life. Depending on the project, that may include sea-level-rise projections, storm-surge modeling, and expected marsh migration.
It is important not to overstate what the assessment does. It is not a promise that the shoreline will remain unchanged, and it is not a substitute for engineering. It is a way to demonstrate that the project has considered future coastal conditions rather than designing only for the bank as it appears on the day of the site visit.
For a restoration project, that can be a strength. A living shoreline is already concerned with elevation, tidal exchange, vegetation establishment, sediment movement, and the way the marsh edge changes over time. The assessment gives the team a structured way to explain those choices. It can also reveal a problem early: a proposed planting zone may be too low, a fixed structure may be exposed to more wave energy than expected, or the project may need room for marsh migration that the first concept did not allow.
Make the calculations part of the design conversation
Pollutant reduction and coastal resilience should not be treated as two forms that someone else fills out after the designer has finished. Bring both into the first serious design discussion.
Ask the project team:
- What existing condition is being used as the baseline for phosphorus loading?
- Which proposed measures produce the 10% reduction in the applicable IDO zone?
- Do the stormwater measures fit the actual drainage pattern, or are they simply being placed wherever there is room?
- How does the shoreline treatment respond to projected coastal conditions?
- What happens to the planting areas if the marsh edge migrates?
- Which parts of the project are expected to remain fixed, and which are intended to change over time?
- Does the resilience assessment support the selected design, or does it point toward a different elevation, footprint, or stabilization method?
Those questions help turn compliance from a defensive exercise into a design tool. They also make it easier to explain the project to residents who may not care about the terminology but do care whether the work will reduce runoff, withstand storms, and leave the shoreline in better condition.
Holding the Whole Project Together
When you stack everything together — the buffer determination, the Living Shoreline Protection Act preference, the funding pipeline, the MDE authorization, the Critical Area Commission review, the 10% reduction calculation, and the resilience assessment — the project prep work is substantial. That is the honest answer.
But it is not random work. Each requirement answers a different question:
- Where is the project allowed to occur?
- What kind of shoreline treatment should be considered first?
- Which design and construction costs can the available funding cover?
- What information does the state need before it can review the work?
- How will the project reduce pollutant loading where that rule applies?
- How will the design respond to future coastal conditions?
The work becomes more manageable when those questions are answered in that order. Start with the parcel and the shoreline. Move to a concept that respects the site. Use design funding to develop the technical package. Build the permitting calendar backward from the six-week Critical Area Commission deadline. Then make sure the pollutant-reduction calculation and coastal resilience assessment describe the same project shown in the drawings.
Somerset County staff, state agencies, designers, watershed coordinators, and funding partners each see a different part of that process. Bring them in early enough that their advice can still change the concept. A short conversation before surveying or engineering can save a much longer revision after the application is filed.
The most useful project file is often not complicated. It is a shared folder or binder containing the parcel map, buffer determination, preliminary concept, site photographs, survey information, funding notes, permit checklist, meeting dates, and a version-controlled set of drawings. Everyone should know which plan is current. Everyone should know whether the money being discussed is for design or construction. And everyone should know the next decision that has to be made.
The strongest restoration projects are not the ones with the most impressive drawings. They are the ones where the site, the design, the funding, and the permit package all tell the same story.
What a Finished Project Can Show
It is worth pausing on what success can look like, because the paperwork is easier to push through when the community can picture the shoreline it is working toward. The Tangier Sound project provides a tangible reference point: 1,100 linear feet of living shoreline, with dune restoration and offshore breakwaters included in the design, supported by a $1.17 million DNR Coastal Resiliency Program grant awarded in April 2021.
That example shows how a restoration project can combine several elements instead of relying on a single treatment. It also shows why shoreline work often involves more than planting marsh grass along an eroded bank. The project may require offshore features to manage wave energy, dune work to address the landward edge, and enough surveying and engineering to make the pieces function together.
What it does not do is guarantee that every Somerset County shoreline should use the same arrangement. A project on the Wicomico, the Manokin, or a smaller tidal creek will have its own exposure, soils, water depths, access constraints, and neighboring conditions. The reference point is useful because it makes the design process visible. It is not a substitute for site-specific analysis.
That is the thing about Chesapeake Bay restoration in Somerset County. The regulatory framework is real, and it asks a lot of the people who show up to do the work. But the requirements also force the project to answer the questions that determine whether it belongs on that shoreline: what is happening to the bank, what will the intervention change, how will it affect water and habitat, and how will it hold up as coastal conditions change?
When you sit down to plan your project, you are not just filling out a checklist. You are deciding whether the site has been understood well enough to justify the design, whether the funding matches the stage of work, and whether the application is complete enough to move without avoidable confusion. The final measure of preparation is not a pile of forms. It is a project that can be explained clearly to a landowner, a neighbor, a reviewer, and a contractor — using the same shoreline, the same footprint, and the same expectations.
That is why the prep work deserves attention. The marsh, the bank, and the road beyond it will have to live with the result long after the permit file is closed.