Princess Anne historic renovations: pre-project checklist
A historic renovation in Princess Anne can become complicated before the first wall is opened.
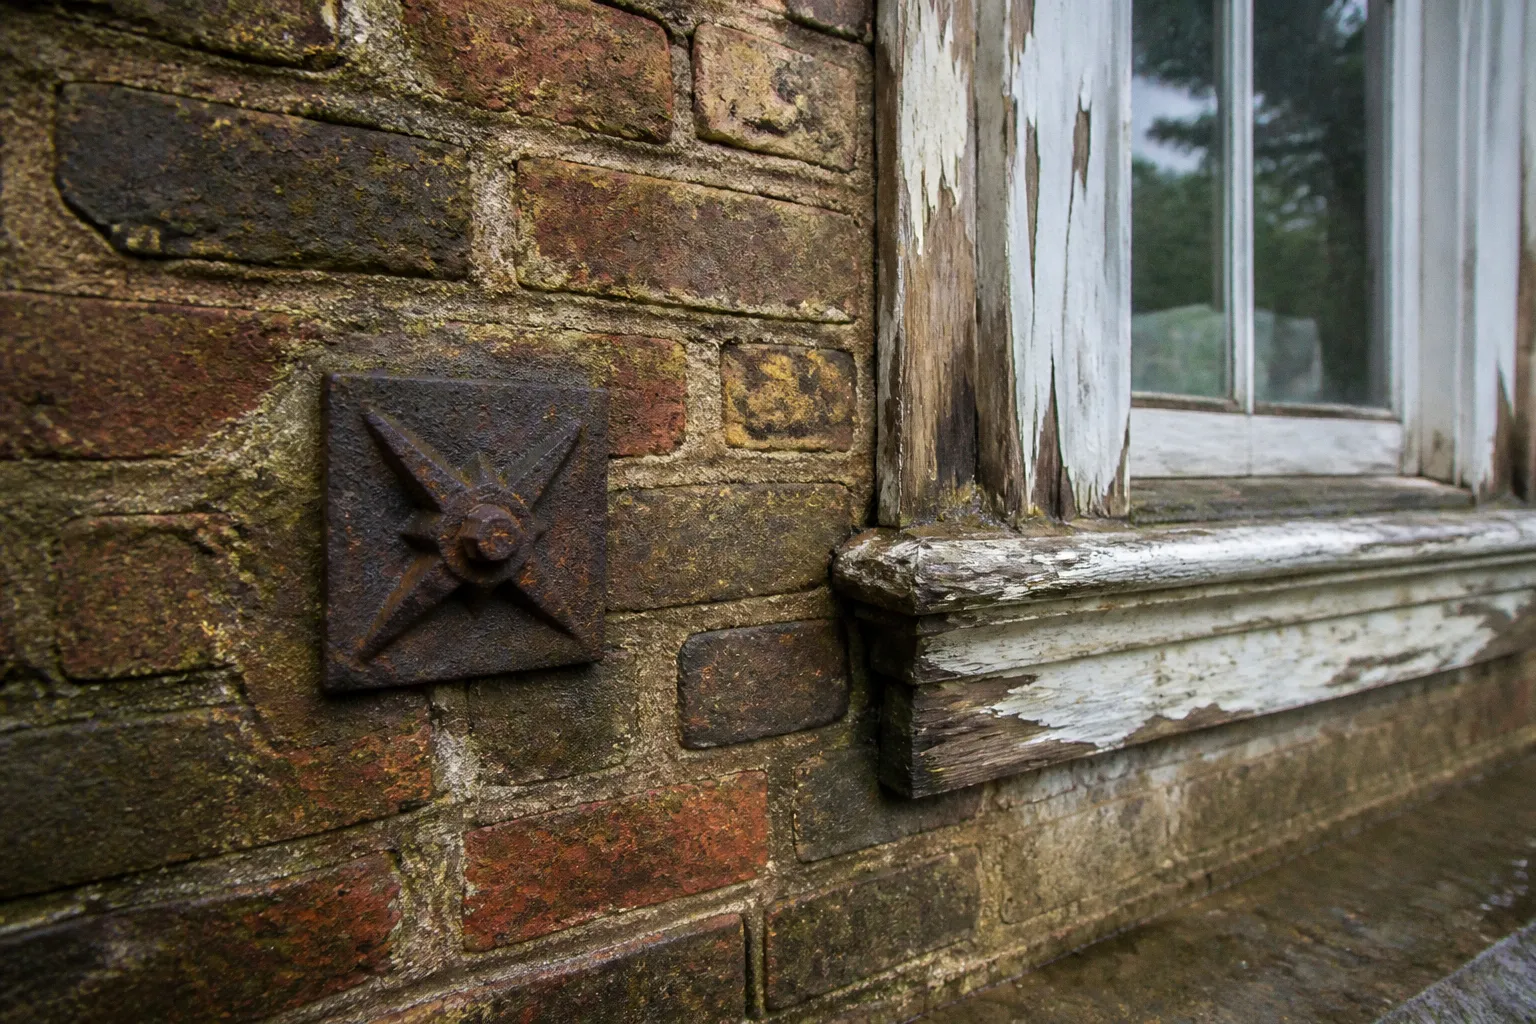
Princess Anne Historic District Renovation Checklist: What to Do Before Work Begins
A new porch, replacement windows, exterior paint, roof work, or structural repair may involve more than a conversation with a contractor: the property may sit inside a locally designated historic district, require review by the Somerset County or Town historic preservation body, and need building permits before construction starts.
That does not mean historic preservation is designed to stop you from improving your home. The better way to understand the process is that it helps determine how a change should be made so the building remains part of Princess Anne’s community fabric. This Princess Anne historic district renovation checklist is meant to help you organize the work, ask the right questions early, and avoid paying for plans or materials that later need to be changed.
1. Confirm the property’s historic status and jurisdiction
Before discussing design details, establish exactly where the property sits and which public bodies have authority over the proposed work. “Historic property” and “property inside a local historic district” are not always the same thing, and the difference can affect the review process.
A building may be:
- Individually listed or documented as historically significant.
- Located within a locally designated historic district in Princess Anne.
- Included in a broader survey of historic resources without being subject to design review.
- Near a historic district boundary but outside the area requiring commission approval.
- Subject to separate state or federal preservation requirements because of funding, tax credits, or another public action.
The first practical step is to contact the Town of Princess Anne and Somerset County planning or permitting staff with the property address and a short description of the project. Ask them to identify:
1. Whether the parcel is inside a locally designated historic district.
2. Whether the proposed work requires review by a historic district commission or another preservation body.
3. Whether the work requires a building, electrical, plumbing, mechanical, sign, demolition, or zoning permit.
4. Whether the town or county is the permitting authority for the property.
5. Whether the project affects a recorded easement, public right-of-way, floodplain, or other regulated area.
This is the point where a simple map can save weeks. Historic district boundaries do not always follow the streets or neighborhood names residents use in everyday conversation. A property can look like part of a historic area and still fall outside the formal boundary, or it can sit inside the boundary even when its own construction date is much later.
The first question is not “Which window should we order?” It is “Who needs to approve this change, and what does the district protect?”
For a more complete Princess Anne MD historic preservation guidelines review, gather any local district ordinance, design guidelines, application forms, and meeting schedules before finalizing architectural drawings. Requirements may differ depending on whether the work is visible from a public street, changes the building’s exterior appearance, affects an important landscape feature, or involves demolition.
Build a project file before the first meeting
A small, organized file makes it easier for staff and commissioners to understand what you are proposing. Include:
- The property address and parcel information.
- Current photographs of every exterior elevation.
- Close photographs of windows, doors, trim, masonry, porches, foundations, and roof details.
- A basic site plan showing the building, driveway, fences, sheds, and neighboring structures.
- Any historic photographs, Sanborn maps, deeds, prior surveys, or old photographs you can locate.
- A written description of the work in plain language.
- Contractor estimates, if you already have them.
- A preliminary list of proposed materials and colors.
Do not worry if the first version is not a polished architectural package. At the early stage, the goal is to make the scope understandable. “Replace the old porch” is less useful than “Rebuild the front porch using the existing footprint, retain the original turned posts if sound, replace deteriorated decking with painted wood, and match the existing railing profile.”
That level of detail helps the reviewing body distinguish repair from replacement, and maintenance from a significant alteration.
2. Separate maintenance, repair, alteration, and demolition
One of the most common sources of confusion is treating every project as if it were the same kind of change. Historic review generally becomes more involved as the work moves from routine maintenance toward alteration or demolition.
Maintenance
Maintenance keeps existing materials in service without changing their appearance or configuration. Examples may include:
- Repainting wood siding in an established color scheme.
- Clearing gutters and repairing flashing.
- Replacing broken glass while retaining historic sash.
- Repointing a small area of masonry with a compatible mortar.
- Repairing a porch floor without changing its dimensions.
Some maintenance activities may not require commission review, while others may still require permits or prior confirmation. Never assume that “small” means “unregulated,” especially when scaffolding, electrical work, structural repairs, or exterior equipment is involved.
Repair
Repair addresses deterioration while retaining as much original material as possible. A repair might involve consolidating a deteriorated window sill, splicing a damaged porch column, or replacing only the portion of siding that cannot be saved.
The preservation value of repair is not sentimental. Original materials carry evidence about how the building was constructed, what tools were used, and how the property changed over time. They also tend to fit the building better than modern replacement products.
Alteration
An alteration changes the building’s appearance, use, size, or construction. Common examples include:
- Replacing historic windows with a different design.
- Enclosing a porch.
- Adding a rear or side addition.
- Installing solar panels, exterior heat pumps, or new utility equipment.
- Changing a doorway or creating a new opening.
- Adding a fence, retaining wall, sign, or detached garage.
- Reconfiguring a storefront or commercial façade.
Alterations are not automatically inappropriate. A well-planned addition can support continued use and keep a historic building occupied. The question is whether the new work respects the building’s scale, rhythm, materials, and position on the lot.
Demolition
Full demolition, partial demolition, and removal of significant features usually receive the closest attention. If demolition is being considered because of deterioration, document the condition carefully and obtain a professional assessment where appropriate. A contractor’s statement that a feature is “too far gone” may not be enough to establish that replacement is the only reasonable option.
When a historic building remains useful, the strongest preservation strategy is often a practical one: repair the important features, improve safety and energy performance thoughtfully, and make the building work for its next chapter.
3. Prepare for the Historic District Commission review
The Somerset County MD historic district commission process—or the applicable Town of Princess Anne preservation review, depending on the property’s jurisdiction—works best when applicants treat it as a design conversation rather than a final presentation of a finished decision.
Commission members typically need enough information to evaluate the effect of the proposed work on the building and the surrounding district. A vague application makes that harder for everyone. It can lead to postponement, requests for additional drawings, or conditions that might have been avoided with clearer preparation.
What to bring to the review
For exterior renovations, prepare a package that may include:
- Existing and proposed elevation drawings.
- Dimensions for additions, porches, fences, and other visible features.
- A site plan showing setbacks and the relationship to neighboring buildings.
- Photographs marked to show where changes will occur.
- Window and door schedules identifying size, operation, material, and finish.
- Product information for roofing, siding, masonry, lighting, and exterior equipment.
- Paint colors or a color sample board.
- Details for trim, cornices, railings, steps, porch posts, and decorative features.
- A construction sequence for work that may expose or remove historic fabric.
- Structural documentation if the project involves foundations, load-bearing walls, framing, or major roof repairs.
The exact submission requirements may vary, so confirm the current application package with the relevant office before preparing a full set of drawings.
Explain the “why,” not only the “what”
A commission is better able to evaluate a proposal when the application explains the condition that led to it. For example:
- “The rear roof slope has repeated leaks, and the proposed repair retains the existing roof form while replacing failed sheathing.”
- “The existing aluminum windows are nonhistoric replacements; the proposal restores the original opening sizes and uses wood-clad units with divided-light patterns that match the historic elevations.”
- “The rear addition is set back from the principal façade so the original front block remains visually dominant from the street.”
This is especially helpful when the project includes a modern intervention. Historic preservation is not a requirement to pretend that every new component is old. A compatible contemporary addition can be honest about its age while remaining quiet in scale, placement, and materials.
Common review problems
Several avoidable problems appear repeatedly in historic renovation applications:
1. The application describes the project but does not show it.
A verbal explanation cannot replace elevations, dimensions, and product information when the change is visible from the street.
2. The contractor is selected before the design is settled.
Contractors bring valuable construction knowledge, but their preferred replacement product may not meet local preservation expectations. Include the contractor early without allowing an unreviewed product to determine the design.
3. The proposal treats each feature separately.
A window, porch, roof, and paint color may each seem minor, but together they change the building’s character. Review the façade as a whole.
4. Historic materials are removed before documentation.
Once original trim, siding, or window assemblies are discarded, it becomes much harder to understand or reproduce the original design.
5. The applicant assumes approval from one agency covers everything.
Historic approval and building permits are different steps. A commission decision does not necessarily authorize structural, electrical, plumbing, or mechanical work.
4. Use the Secretary of the Interior’s Standards as a working tool
The Secretary of the Interior’s Standards for Rehabilitation are widely used in the United States to guide work on historic buildings. They are not a catalog of approved products, and they do not require every repair to use antique materials. Their value is that they provide a consistent way to think about change.
In practical terms, the standards encourage us to:
- Use a property for a compatible purpose.
- Protect the building’s historic character.
- Retain distinctive materials and features whenever possible.
- Repair rather than replace deteriorated historic elements.
- Make necessary replacements compatible in design, color, texture, and scale.
- Avoid creating a false historical appearance.
- Make new additions identifiable as new while keeping them compatible.
- Protect significant archaeological resources.
- Avoid damaging historic materials through poorly planned upgrades.
For a homeowner, the central question becomes: What is significant, what is deteriorated, and what can be changed without losing the building’s identity?
Start with a feature-by-feature condition survey
Walk around the property and classify the exterior elements. A simple three-column approach works well:
| Feature | Current condition | Preferred action |
|---|---|---|
| Front windows | Historic sash with peeling paint and localized sill rot | Repair sash, replace damaged sill sections, reglaze where needed |
| Porch railing | Original profile, several loose joints | Stabilize and repair; reproduce only missing sections |
| Rear siding | Mixed historic and replacement boards, water damage near foundation | Correct drainage, retain sound boards, replace damaged boards with compatible material |
| Roof | Modern covering, active leak at rear valley | Repair framing and flashing, select a compatible roofing material |
| Front steps | Cracked masonry and uneven rise | Assess structural cause, repair or carefully rebuild while retaining the established form |
This is not a substitute for a professional condition assessment when the building has serious structural problems. It is a way to slow down the replacement impulse and identify where original material still has useful life.
Avoid the “everything must look old” mistake
Preservation standards do not require modern systems to be hidden at any cost, nor do they prohibit accessibility improvements, energy upgrades, or code-related work. They ask that these needs be handled with care.
A new accessible route may be essential for a residence, business, or community space. The design can often reduce visual impact by placing the ramp or lift at the side or rear, using compatible materials, and preserving the principal entrance when possible. Likewise, mechanical equipment can sometimes be grouped in a less prominent location, screened without trapping heat, and kept clear of historic foundations and trim.
What this means for your block is important: a building that can support modern living is more likely to remain occupied and maintained. Preservation works best when it protects character without making responsible use impossible.
5. Coordinate preservation review with permits
A historic commission application is only one part of the project. Before construction begins, determine which permits apply and how the approvals fit together.
Depending on the scope and location, a project may involve:
- Building permits for structural work, additions, alterations, or demolition.
- Electrical permits for service changes, new circuits, lighting, and equipment.
- Plumbing or mechanical permits.
- Zoning approval for setbacks, lot coverage, parking, signs, or changes of use.
- Accessibility review for commercial or public-facing properties.
- Trade permits for HVAC systems, generators, or exterior utilities.
- Environmental or stormwater requirements for larger site changes.
- Separate approvals for work in a public right-of-way.
Ask whether historic approval must be obtained before a building permit application can be accepted, or whether the applications may move forward in parallel. Also ask how long an approval remains valid and what happens if a contractor proposes a substitution during construction.
Structural repairs deserve early attention
Historic buildings often show problems at the points where water enters or where the ground moves: roof valleys, porch connections, masonry joints, crawl spaces, foundations, and areas around gutters and downspouts. Cosmetic repairs will not last if the underlying moisture or structural issue remains.
For significant structural work, consider obtaining an assessment from a qualified architect, structural engineer, or contractor familiar with older buildings. The right professional should be able to distinguish between:
- A historic assembly that is worn but repairable.
- A modern alteration that is causing water or ventilation problems.
- A structural failure requiring immediate stabilization.
- A cosmetic defect that does not justify wholesale replacement.
If a wall is out of plumb or a floor slopes, that does not automatically mean the entire framing system must be replaced. Older buildings often contain irregularities that can be safely managed, but they need to be evaluated rather than covered up.
Build time into the schedule
Commission meetings may occur on a regular schedule, and an incomplete application can push a decision to a later meeting. Materials may also have long lead times, particularly custom wood windows, historically appropriate hardware, specialty masonry products, or reproduction millwork.
A realistic schedule should allow time for:
1. Preliminary conversations with planning and preservation staff.
2. Research and documentation.
3. Preparation of drawings and specifications.
4. Historic review.
5. Permit applications.
6. Contractor bidding or final contracting.
7. Material ordering.
8. Construction and possible site inspections.
Do not schedule demolition or order nonrefundable materials on the assumption that approval is routine. A short delay before work begins is much less costly than replacing an unapproved installation.
6. Choose materials for compatibility, not just appearance
Material selection is where a preservation plan becomes visible. Two products may look similar in a catalog but perform very differently on an older building.
Wood windows
Historic wood windows are often repairable when the problem is limited to glazing, paint failure, sash cords, weatherstripping, or localized rot. Before replacing them, assess:
- Whether the frame is square and stable.
- Whether the sash can be repaired.
- Whether the window opening has been altered in the past.
- Whether replacement units match the original proportions.
- Whether the proposed product changes the muntin pattern, frame depth, or exterior profile.
Energy performance matters, but replacing a sound historic window is not the only way to improve comfort. Storm windows, weatherstripping, interior panels, air sealing, and careful maintenance may offer a less destructive path, depending on the building.
If replacement is necessary, compare the full exterior appearance—not only the glass rating. Historic windows are read as part of the façade’s rhythm, and a slightly different sash division or frame profile can make the building feel visually unsettled.
Siding and trim
Match more than the color. Review the profile, exposure, thickness, corner treatment, fastening pattern, and finish. A new siding product that has the right nominal dimensions may still look wrong if its shadow lines or surface texture differ from the original.
Where historic boards remain sound, retain them. If sections must be replaced, document the existing profile and use the smallest practical area of new material. Painting new and old wood together can help unify the appearance, but it should not be used to conceal moisture problems.
Masonry and mortar
Brick and historic mortar do not respond well to aggressive cleaning or incompatible repairs. Before repointing, determine the existing mortar’s character and select a compatible replacement. Very hard modern mortar can trap moisture or cause softer historic brick to deteriorate.
Avoid abrasive cleaning methods unless a qualified professional has established that they are safe for the specific masonry. Water management, vegetation, failed flashing, and open joints should be addressed before cosmetic cleaning.
Roofing
The roof protects everything below it, but its material and configuration also contribute to the building’s character. Document the roof shape, edge details, dormers, chimneys, valleys, flashing, and visible roofing from the public way.
A compatible modern roofing product may be acceptable when it preserves the established form and does not erase important details. The best choice depends on the building’s age, style, visibility, roof pitch, and local guidelines.
Hardware, lighting, and small details
Small elements can have an outsized effect on a historic façade. Door hardware, porch lights, mailboxes, house numbers, vents, downspouts, and railings should be selected as a group rather than as unrelated purchases.
That does not mean every detail needs to be a museum reproduction. It means the pieces should share an appropriate scale and finish, and they should not compete with the building’s primary features.
7. Investigate Maryland historic rehabilitation incentives before construction
Historic rehabilitation incentives can help make a careful project financially possible, but they generally require advance planning. The critical mistake is beginning work before confirming eligibility, documentation requirements, and the point at which an application must be submitted.
Potential tools may include Maryland historic rehabilitation tax credits, local property tax programs, federal rehabilitation credits for qualifying income-producing properties, grants, or community development programs. Availability and eligibility depend on the property, its designation, its use, the scope of work, and the program rules in effect when you apply.
Questions to ask before relying on an incentive
Before including a credit or grant in the project budget, confirm:
- Whether the property is individually eligible or contributes to a designated district.
- Whether the program applies to owner-occupied residential work, rental housing, commercial space, or another use.
- Whether the proposed work qualifies as rehabilitation rather than new construction.
- Whether review or approval is required before physical work starts.
- Whether the program requires photographs, architectural plans, invoices, and final documentation.
- Whether qualified expenses exclude site work, appliances, landscaping, or certain interior improvements.
- Whether the benefit is a tax credit, reimbursement, loan, or competitive grant.
- Whether the property must remain in a qualifying use for a defined period.
- Whether the credit can be combined with other public funding.
For income-producing properties, federal historic rehabilitation credits typically involve certification through the National Park Service and a multi-stage review process. That is a different path from a local historic district approval and should be treated as a separate project track.
Residential owners should also be cautious about assuming that a tax credit will cover every desirable improvement. A historically appropriate bathroom, kitchen, HVAC upgrade, or accessibility change may be necessary for the building’s continued use, but the program may distinguish between eligible rehabilitation costs and ordinary personal improvements.
Keep every invoice, contract, photograph, and approval letter from the beginning. A clean paper trail is useful even when no incentive is involved, and it becomes essential when a program requires proof of eligible work.
8. Make the checklist part of the construction contract
Once the design is approved and permits are moving, preservation details should not disappear into a general contractor’s scope of work. Put the agreed materials and methods in writing.
A clear contract or construction specification should identify:
- Which original features are to be retained.
- Which elements may be removed and under what conditions.
- Approved replacement materials and profiles.
- Paint colors and sheen, if specified.
- Window and door dimensions, operation, and muntin configuration.
- Masonry cleaning and repointing methods.
- Locations for HVAC equipment, meters, vents, and utility penetrations.
- Who is responsible for permit inspections and commission correspondence.
- How proposed substitutions will be handled.
- What happens if concealed deterioration is discovered.
Include a requirement that the contractor pause before removing a potentially significant feature that was not visible during the initial inspection. Hidden rot is common; an unplanned decision to remove an entire porch, cornice, or wall section can change the character of the project quickly.
A substitution is not automatically harmless. “Same color” does not mean “same material,” and “same size” does not mean “same profile.” If a product becomes unavailable, send the alternative to the appropriate staff or commission contact before installation.
9. Plan for the building’s long-term use
A renovation is successful when the property remains useful, maintainable, and connected to the surrounding neighborhood. That may mean updating a house for aging in place, adapting a storefront for a local business, creating rental housing, or improving a community building’s accessibility and energy performance.
Ask practical questions:
- Can the proposed layout support the way the property will actually be used?
- Will new insulation or air sealing create moisture problems if ventilation is not improved?
- Can mechanical systems be serviced without cutting through significant historic fabric?
- Are gutters and downspouts directing water away from the foundation?
- Will new paving or grading send stormwater toward the building?
- Can future owners understand which materials and finishes were used?
- Is there a maintenance plan for painted wood, masonry, roofing, and drainage?
Historic preservation is not finished when the commission approves the drawings. It continues through ordinary maintenance: keeping water out, painting before wood fails, repairing mortar before brick is damaged, and fixing small leaks before they become structural problems.
For owners considering an Eastern Shore historic property rehabilitation, this long view is particularly important. Older buildings often sit close to sidewalks, streets, and neighboring lots, with limited room for equipment and drainage changes. Small maintenance decisions affect not only one parcel but also the visual continuity of the block.
A practical pre-project sequence
If you want one orderly path through the early stages, use this sequence:
1. Locate the property on the official historic district and zoning maps.
Confirm the boundary, jurisdiction, and reviewing authority instead of relying on neighborhood descriptions.
2. Photograph and document existing conditions.
Record the building before repairs, including details that may be removed or concealed.
3. Describe the project in plain language.
Separate repair, replacement, alteration, addition, and demolition so the scope is easy to evaluate.
4. Speak with local planning, permitting, and preservation staff.
Ask what approvals and permits apply and request the current application requirements.
5. Research the building’s history and significance.
Look for earlier photographs, surveys, historic maps, and evidence of original materials or later changes.
6. Develop drawings and material specifications.
Show dimensions, profiles, colors, window patterns, equipment locations, and the relationship of new work to the existing building.
7. Review the proposal against rehabilitation standards.
Identify what can be repaired, what must be replaced, and how new work will remain compatible.
8. Investigate incentives before construction begins.
Confirm eligibility and submission deadlines before including credits or grants in the budget.
9. Submit the historic review and permit applications.
Track conditions, expiration dates, inspections, and required revisions in one project file.
10. Write preservation requirements into the contract.
Make sure the construction team knows which features and materials are part of the approved design.
11. Photograph concealed conditions during construction.
Keep a record of framing, foundations, and repairs that will no longer be visible after the work is complete.
12. Resolve changes before installation.
If the field condition requires a different material or detail, pause and obtain guidance rather than improvising on the façade.
The goal is a durable, usable piece of Princess Anne
A historic renovation does not have to freeze a building in time. Princess Anne’s historic character is sustained when homes, storefronts, and civic buildings continue to serve real needs while retaining the details that make the town recognizable.
The most reliable approach is also the most neighborly one: understand the rules early, document what is already there, repair what can be saved, design additions with restraint, and keep communication open with the people reviewing and building the project. That process may add a few steps at the beginning, but it gives you a clearer budget, fewer surprises, and a better chance of creating work that belongs on the block.
For your property—and for our community fabric—the strongest renovation is not the one that looks newest. It is the one that protects the building’s story while giving it a sound and useful future.